Software and Systems How-To's, Tutorials, Demos, Notes
How to Install OpenShift 4.x on Bare Metal

Assumptions
The steps to install OpenShift 4.1.0 can be found here. This documents some things I needed to do in order to install it on a cluster of Intel NUCS connected to my Mac Book Pro for internet access.
- Internet access to the cluster is provided by Internet Sharing of Mac OS.
- Cluster IP subnet is 192.168.2.0/24 and the gateway is the MacBook Pro with IP Address of 192.168.2.1.
- DNS is provided by dnsmasq and running on the gateway.
- DHCP server runs on the gateway.
- 3 masters, 1 compute node, 1 bootstrap node.
Creating the entries in DNSmasq
Create the following entries in /etc/hosts. The etc nodes will be collocated with the master nodes.
# nodes
192.168.2.3 bootstrap-0.ocp4.example.com
192.168.2.4 master-0.ocp4.example.com
192.168.2.5 master-1.ocp4.example.com
192.168.2.6 master-2.ocp4.example.com
192.168.2.7 compute-0.ocp4.example.com

# etcd
192.168.2.4 etcd-0.ocp4.example.com
192.168.2.5 etcd-1.ocp4.example.com
192.168.2.6 etcd-2.ocp4.example.com

# api load balancer
192.168.2.3 api.ocp4.example.com
192.168.2.4 api.ocp4.example.com
192.168.2.5 api.ocp4.example.com
192.168.2.6 api.ocp4.example.com

# api-int load balancer
192.168.2.3 api-int.ocp4.example.com
192.168.2.4 api-int.ocp4.example.com
192.168.2.5 api-int.ocp4.example.com
192.168.2.6 api-int.ocp4.example.com

# important urls that is not documented in the official docs.
192.168.2.7 oauth-openshift.apps.ocp4.example.com
192.168.2.7 console-openshift-console.apps.ocp4.example.com
In the /etc/hosts entries above, the bootstrap node is initially part of the loadbalancer with url api.ocp4.example.com and api-int.ocp4.example.com
Download the pull secret
Access the OpenShift Infrastructure Page and log-in using your Red Hat account.
Click on Download Pull Secret
Generate the ssh-keys
ssh-keygen -t rsa
to produce the id_rsa and id_rsa.pub keys.
Creating the install-config.yaml
Customize the install-config.yaml found here. Paste the pull secret and the SSH public key.
apiVersion: v1
baseDomain: example.com
compute:
- hyperthreading: Enabled
  name: worker
  replicas: 0
controlPlane:
  hyperthreading: Enabled
  name: master
  replicas: 3
metadata:
  name: ocp4
networking:
  clusterNetworks:
  - cidr: 10.128.0.0/14
    hostPrefix: 23
  networkType: OpenShiftSDN
  serviceNetwork:
  - 172.30.0.0/16
platform:
  none: {}
pullSecret: ''
sshKey: ''
Paste the pull secret and the ssh public key in the above file.
Create the install directory
- Create directory ocp4_install
- Copy the file install-config.yaml to ocp4_install.
Important: Do not move this file inside the ocp4_install directory. Otherwise you will lose the file since it will be consumed by the
openshift-installcommand.
Generate the Ignition files
Execute the following commands to generate the ignition files.
openshift-install create ignition-configs --dir=ocp4_install
This will generate the following files:
- bootstrap.ign
- master.ign
- worker.ign
Copy the files to your web server directory
In my case, I copied the files to /Library/Webserver/Documents. Here’s the contents of this directory:
bootstrap.ign
master.ign
metadata.json
rhcos-4.1.0-x86_64-installer-initramfs.img
rhcos-4.1.0-x86_64-installer-kernel
rhcos-4.1.0-x86_64-installer.iso
rhcos-4.1.0-x86_64-metal-bios.raw.gz
rhcos-4.1.0-x86_64-metal-uefi.raw.gz
rhcos-4.1.0-x86_64-vmware.ova
worker.ign
First create a directory that will
Installing the CoreOS
- You need to download the CoreOS from here.
- Burn the iso to a DVD. I tried to make a bootable USB disk but it did not work.
- First install the OS for the bootstrap machine
- Insert the DVD to each machine in the cluster.
- You will be asked for the location of the installer and the ign file.
- For the installer, I specified
http://192.168.2.1/rhcos-4.1.0-x86_64-metal-uefi.raw.gz
- For the ign, I specified
http://192.168.2.1/bootstrap.ign
- This will then do the following:
- Download the installer file,
- Writing the installer to the disk
- Reboot
- When the machine boots, it will apply the ign file.
- Next install the masters. For the masters, you will use the master.ign file:
http://192.168.2.1/master.ign
- Next install the compute node. You will need to specify the worker.ign file:
http://192.168.2.1/worker.ign
- Wait until for the installation to complete:
openshift-install --dir=ocp4_install wait-for bootstrap-complete --log-level debug
Login to OpenShift
- Do the following:
export KUBECONFIG=<full path of ocp4_install directory>
oc whoami
It should give you
system:admin
Configure the Image Registry
The next steps is just following the guide from here
Since this is not a production instance, I just did the following:
oc patch configs.imageregistry.operator.openshift.io cluster --type merge --patch '{"spec":{"storage":{"emptyDir":{}}}}'
Add a New User
To add a new user, do the following:
- use the httpaswd command to generate the passwd entry
htpasswd -nb admin <password> |tee /path/to/users.htpasswd
- create a secret
oc create secret generic htpass-secret --from-file=htpasswd=</path/to/users.htpasswd> -n openshift-config
- Create the following file Custom Resource file and name it htpasswd.cr
apiVersion: config.openshift.io/v1
kind: OAuth
metadata:
  name: cluster
spec:
  identityProviders:
  - name: my_htpasswd_provider
    mappingMethod: claim
    type: HTPasswd
    htpasswd:
      fileData:
        name: htpass-secret
- import it using the command
oc apply -f /path/to/htpasswd.cr
- Give admin the cluster-admin role
oc adm policy add-cluster-role-to-user cluster-admin admin
- At this point, mv the file $KUBECONFIG to $KUBECONFIG.orig
- Then
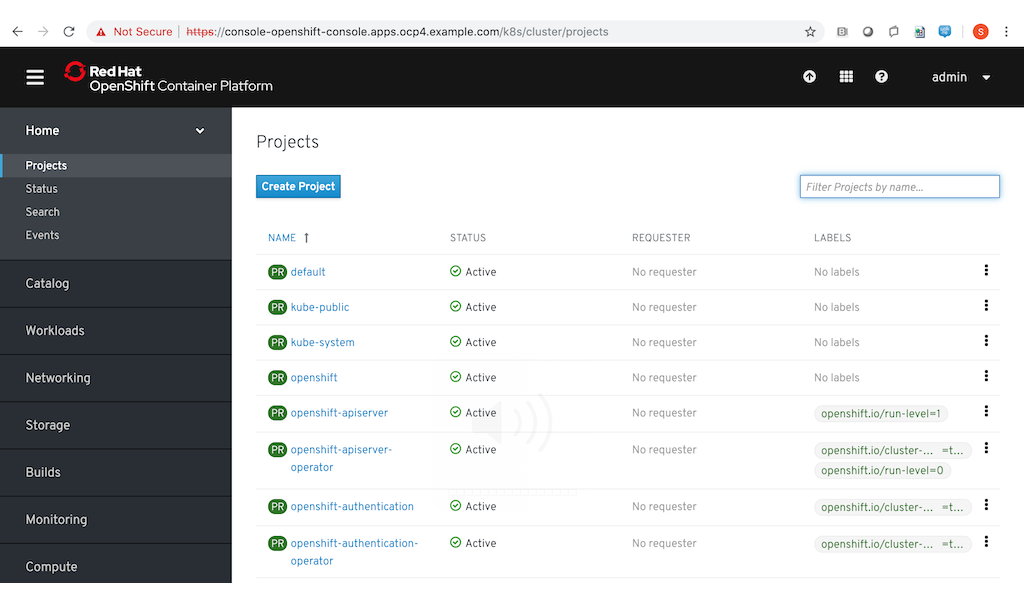
oc login -u admin. Enter your credentials and you should see the projects.
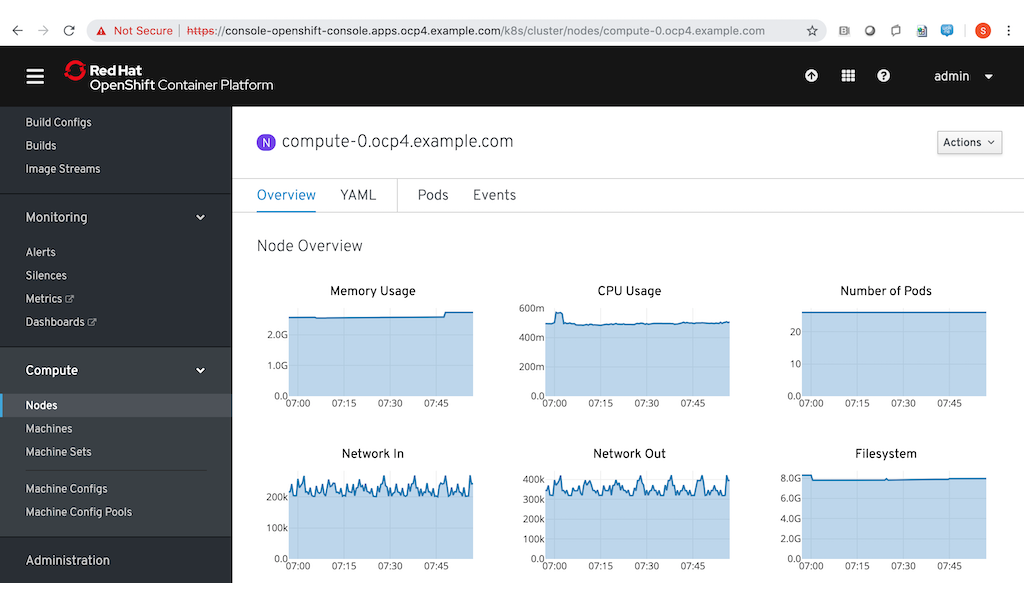
Here’s a screenshot of the OpenShift 4.1.0 web console.
